Happy Birthday to you cool kid
#HBD2U
Pattern Play is the stamp set for any birthday occasion! Just match it up with the recipient's favourite colours and success is guaranteed. Of course, any handmade card is always a hit!
I let you choose the colours for this card and you gave me a great combination. Great work!
- Coastal Cabana
- Pretty Peacock
- Bumble Bee
- Cherry Cobbler
And as I laid out the ink pads in front of me, I was in awe! I couldn't wait to get this card assembled to see the finish product.

Isn't it amazing?
How to make the Scrappy Strip Technique.
I took a piece of Cherry Cobbler and cut it down to 4" x 5 1/4" to use as my template. The strips all got glued to this piece.
I then took scraps of all the colours you chose, making sure they were longer than 4" so that I could make them hang over the Cherry Cobbler template.
Cut everything up in strips, some thicker than others. Some thin and some more angled.
Place some adhesive sheets to the Cherry Cobbler template so that the strips will automatically stick to it. No fussing around with liquid glue... nobody got time time for that!
Start lining up the strips making sure to bud them up nice and tight close to each other.
Once the whole template is full, I cut off the extra pieces that were overlaying.
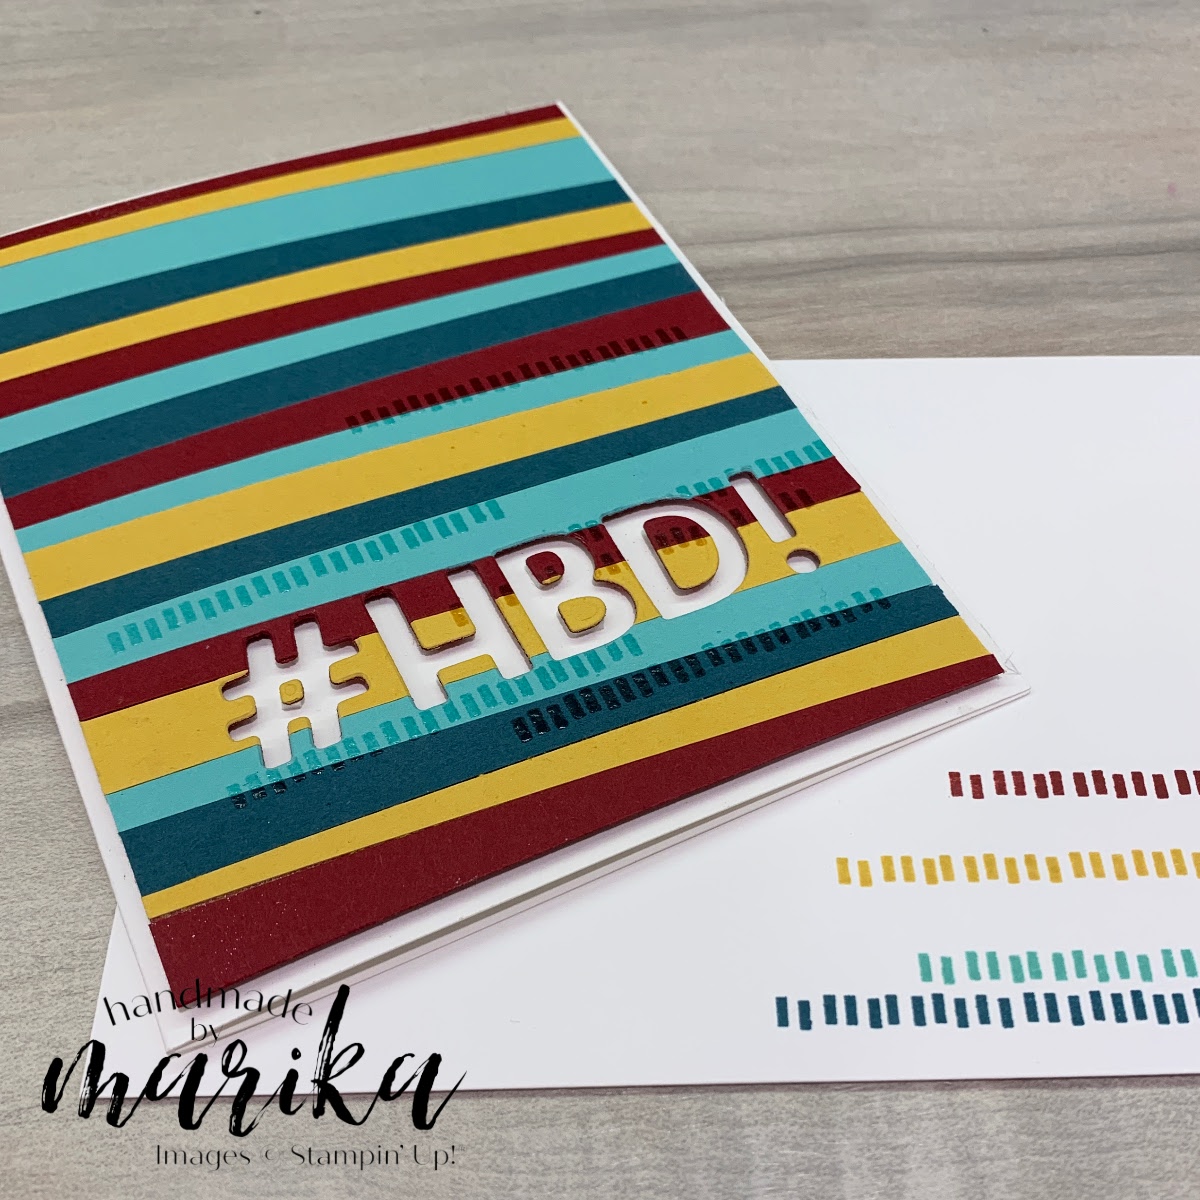 |
I then took my heat embossing supplies.
Stamp your favourite image from the Pattern Play set with Versamark.
Sprinkle some Clear Embossing Powder and heat set.
Once everything is dry and cooled down, I placed my letter dies from the Playful Alphabet using a ruler to make sure they we're all straight.
I secured the dies with washi tape and ran it through the Stampin' Cut & Emboss Machine.
I made sure to keep the tiny pieces so I could add them back in with dimensionals.
Before putting my Stampin' Cut & Emboss Machine away, I die cut the "2U" inside the card. That's the surprise!
Make sure you open the card and place the dies as you would read it when it's open.

The tip to assembling all the pieces together, is to put dimensionals on the front of the card around the reversed "2U". Then put dimensionals on the Cherry Cobbler piece all over except for the area where the "2U" will be hidden.
Make sure you put dimensionals close to the cutout letters so there is enough support and dimension to the card.
You'll want to watch my video on how to assemble this card. It can be a little tricky just reading the steps. With the video, you can pause and rewatch as often as you want.
While you're at my Youtube Channel, make sure to like the video and subscribe, please!
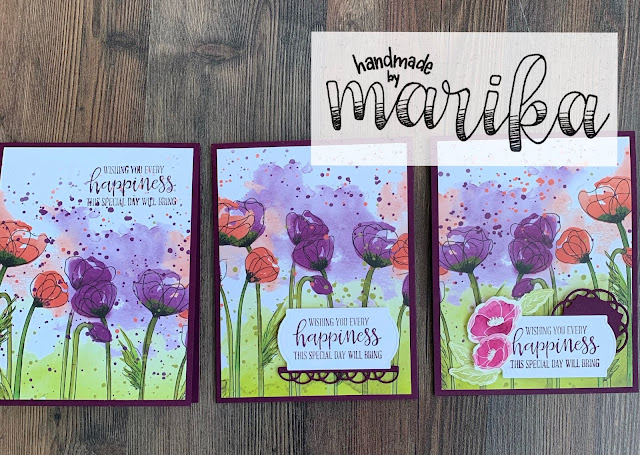
After the Facebook Live ended, I used the die-cuts to make a little notecard.
Simple is always easy, and surprisingly pretty!

I got to make 2 cards with 1 project! So fun!

Thanks again for dropping by. I wish you all a great week and until next time.
Let's make this world a better place one handmade card at a time.
Marika -xo

Comments
Post a Comment